Today I received my invite from Google “Google Storage for Developers”. Yes, like most of us, my life if wrapped in layers of googliness. In this post I’m going to review briefly what Google Storage is and upload the image files, for the images you see in this post, using the Google Storage Manager.
Overview
First, here is an overview from Google I/O 2010 presentation on the subject.
Google Storage Overview
- Fast, scalable, highly available object store
- Objects of any type and practically any size
- Data is replicated across multiple US data centers
- Read-your-writes data consistency
- Easy, flexible authentication and sharing
- Key-based authentication
- Authenticated downloads from a web browser
- Sharing with individuals and groups
- Google products and 3rd party tools/services
Storage Hierarchy
At the top-level of the storage system you have buckets and inside a bucket you have folders and files. You can nest folders, but you cannot nest buckets. You can think of buckets like your “C:” or “D:” drive on Windows, with all your files and folders under it. Google says, in it’s Google I/O presentation, that bucket names are unique across Google Storage, so if I call my bucket “blog”, then you cannot call your bucket “blog”.
Uploading Files
I jumped right in and went to the Google Storage Manager, which is a web interface for the storage.
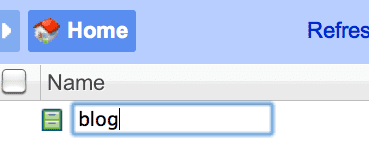
Entered a my new bucket name “blog”…
Doh!
Sorry, that name is not available. Please try a different one. (provided name: ‘blog’)
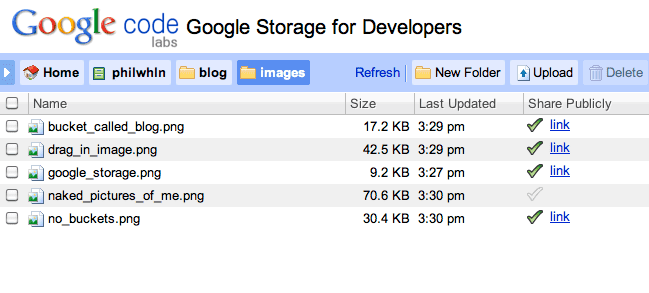
According to Google’s presentation, buckets are name-spaced on domain names that you own, but I think that functionality is not there yet. Instead, I tried a bucket that others were unlikely to have, “philwhln”. Bingo! I now have my first Google Storage bucket. Unlike adding a bucket, adding a folder is a little less like pinning a donkey with a blindfold on. You can call your folder anything you want, because it’s in a bucket that you own. I called mine “blog” and a sub-folder under that called “images”.
This folder is empty. Drag and drop files here to upload them.
Google Storage seems pretty hungry for some files, so I dragged in some images for this post from my desktop. Once your files are uploaded you can click the tick-box to the right of each filename to share those files publicly with the Internet. I selectively chose the ones I wanted to share.
The URL to these file look like this…
/media/images/google_storage.png
/media/images/no_buckets.png
Apart from the rather long “commondatastorage” subdomain, those URLs a very nice. Clean and simple.
Replacing A File
You can replace a file quite easily. You will get a prompt asking if you want to replace it. You should note that you will have to re-click the “share” tick next to the image name if you still want to share this, as it will become unshared when you replace it. Luckily, the URL of the file will not change.
Conclusion
In this post I have shown my first encounter with Google Storage Manager and the ease of uploading some image files. If you notice any problems with the images loading in this post (slow loading, not loading) then please leave a comment below.


It looks like an answer to my question here – https://www.quora.com/What-is-free-or-cheap-storage-for-public-images . Thanks for blog post.
You will find that many of the images on this blog are now hosted with Google Storage. I have had no problems [that I have noticed], so far.